Where to start?
First, it’s very important to realize that you can’t just get any mount for your TV. If you get the wrong mount for your television, you could lose out on getting the best experience and risk the mount failing mechanically. Luckily, we are here to guide you in the right direction. To start, you want to figure out if you’d like your TV to have movement, or if you want it in a fixed position.
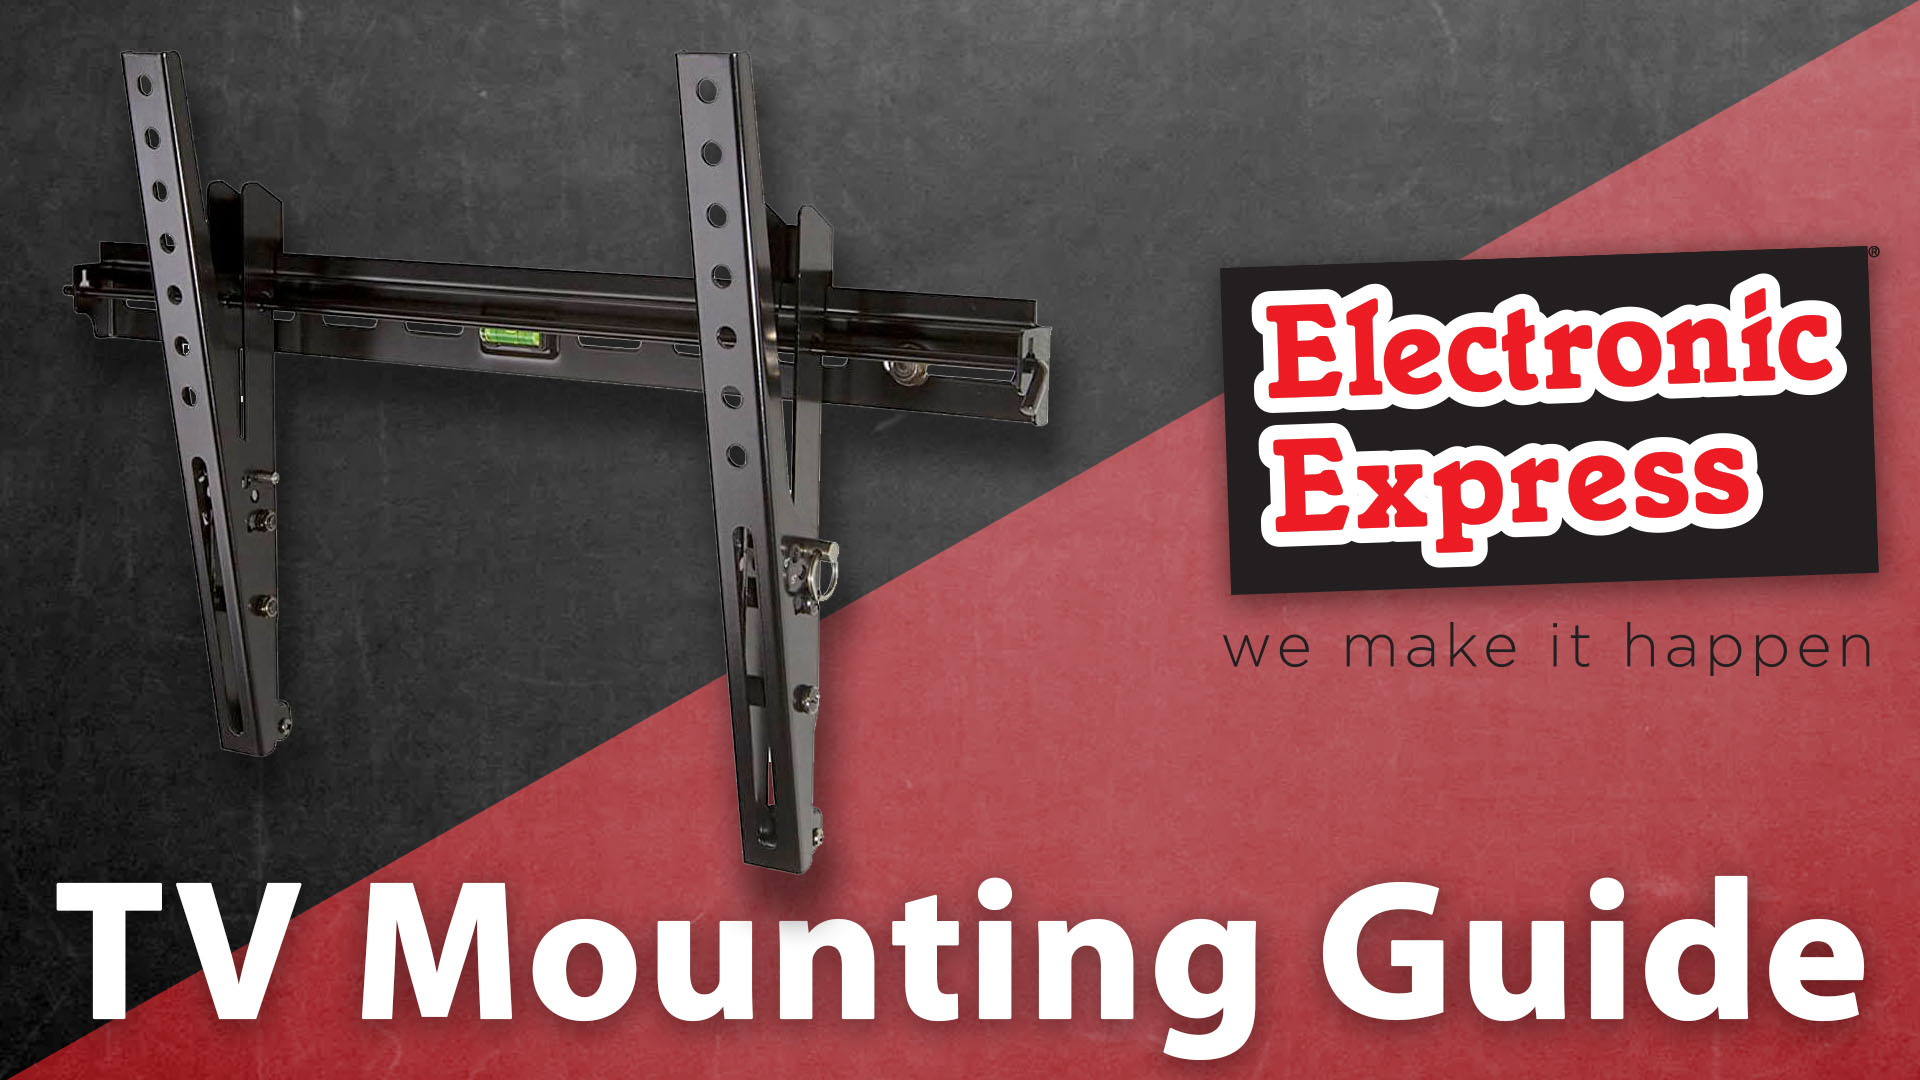
Types of mounts
Typically being the least expensive type of mount, fixed mounts hold the TV close to the wall, practically leaving a gap between the two. By doing that, these mounts give off a nice, clean, custom look to the setup, often giving you options for great cord concealment. However, fixed mounts do not provide position adjustments. Because of this, these mounts are ideal for rooms where it’s likely the attention toward the screen will always come from the same spot.
If you’re looking for a little more wiggle room, then tilting mounts are the way to go. Tilting mounts allow you to angle your TV vertically. If you plan to place the TV over your fireplace or if you lay reclined in the master bedroom, then with this mount’s ability to tilt downward, will be ideal to use. With a tilting mount, you’re able to get some control over avoiding the glare on the TV screen. The range of the tilt angle varies between different models, on average being between 5 - 15 degrees.
If you want maximum movement capabilities, then full-motion or articulating TV mount is what you’re looking for. With a full-motion TV mount, you can move the TV from side-to-side, up or down, and toward or away from the wall. Because of this, it’s important to make sure you have long enough cables for your TV. Though you may have to battle against sun glare in rooms with multiple windows, this mount allows for viewing in various locations. The articulating mount is also ideal for when you need to move it in a more discreet area when it’s not in use, like into a corner or if it’s mounted within an armoire.
Other things to look out for
Since not all brackets are capable of mounting on brick or concrete, you’ll have to make sure to choose the appropriate hardware. It’s also important to check the maximum weight of the brackets you use, especially if you have a heavier than average TV.
Concealing your cables
A big part of what makes a mounted TV so pleasing to the eye is the tidy, uncluttered look it brings. There are various approaches to disguise your power and A/V cords, whether it’s a speedy and straightforward concealment or more work serious in-wall options. It's a good idea to figure out how you'd prefer to deal with your wires before choosing where to mount your TV since certain areas will be more install-friendly than others.
Installation Preparations
Mounting a TV isn’t as simple as plugging one in. If it’s inconvenient for you to mount your TV on your own, here at Electronic Express, we provide a whole series of Home Theater installation services. Whether it’s Wall Mounting Installation or even the whole entertainment assembly, we do it all here on our website.
If you decide to wall-mount it on your own, here is a guide to help you on how to mount your TV.
For starters, you’ll typically need these tools:
- Mount
- Power Drill and Bits
- Level
- Screwdriver
- Stud Finder
- Tape Measure
- Socket Wrench
- Wallboard Saw
If you want to be extra careful when installing it yourself, use a piece of cardboard to experiment how the TV will look where you want to mount it. While experimenting, you can move the cardboard around to see whether it looks best centered on the wall or on the couch. You can also use this experiment to find the studs that are closest to the mark of where you want to center your TV. Mounts give you a little freedom to slide the frame left to right before you bolt it down because studs aren’t typically in the perfect spots.
At this point, you should be ready to get started.
Step 1 - Attach the brackets to the TV
Place your TV face down on a blanket, so you can access the back of it. Typically the TV mount is composed of 2 pieces, the bracket (or arms) that attaches to the TV, and the horizontal mounting frame that’ll be attached to the wall.
Take the back bracket and screw it into the TV. If you’re using a tilting or full-motion mount, make sure the screws that you’re attaching do not hinder the mount’s movement.
Step 2 - Pinpoint and mark the area where the horizontal frame will be placed.
You can measure up from the floor to mark the spot for the top of the mounting frame if you use the Height Finder application.
If your mount gives you the leeway of shifting the TV left to right after its hung, you don't have to be super accurate with the horizontal placement of the frame. Use a tape measure to find the center of the wall or you can try to eyeball it from the couch. After that, find the two studs that are closest on either side of your mark.
Step 3 - Stud finding
Now that you have a place where the mounting frame will go, it's time to find the studs so you can anchor it. Use a stud finder to locate nearby studs. Mark each stud with a pencil or masking tape.
Step 4 - Attach the mounting frame to the wall
Make sure you have someone with you, so you can have them hold the frame in position while you check the level the plumb from the floor, and mark the spots for the pilot holes. When you complete that, drill the pilot holes for the mounting bolts and then use your socket wrench to bolt it down.
Step 5 (Optional) - Installing a concealment kit for your cables
To conceal your cables, you have to cut two holes into the sheetrock and drop the cords through the wall. Begin with cutting the top hole. You’ll cut inside the bracket area to ensure that your cables are completely hidden once your TV is mounted. Make sure you just cut through the sheetrock.
The second hole will be cut about a foot from the ground. After cutting the 2nd hole, you drop the cables through one of the holes, and out the other. If you’re wanting to tidy up the holes you’ve created, invest in wall plates to place over the holes.
Step 6 - Connecting the cables
You’ll need your assistant again in holding the TV up while you connect the cables. If you have a bigger or heavier TV, you may want to recruit a second assistant.
Step 7 (Final) - Anchoring the TV
You can finally go ahead and attach the TV to the mount. Make sure to check if it’s level and adjust it if you have to. If you purchased a tilting frame, fix the angle and tighten the screws to hold it nice and firm. Lastly, secure the TV to the mounting frame the way the instructions of your mount tells you to do it. Once that’s all finished, kick back and enjoy the new look of your entertainment area!